
The Secret of the Koh-i-Noor
The Secret of ChimneysThis thread traces the jewel’s disappearance, its coded hiding instructions, and the final discovery that its hiding place was a rose garden.
increasing Bearing strength in each event
 decreasing
Bearing strength in each eventdecreasingThe Royal Substitute
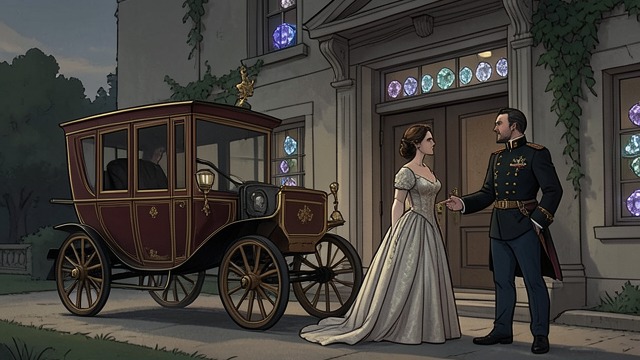
A Jewel Replaced
During a visit to Chimneys, Queen Varaga and King Victor arrange for valuable stones among the royal jewels to be replaced by paste. The Koh-i-Noor’s disappearance is concealed as part of a larger royal theft.
An Unsolved Loss
The authorities search for the missing jewel but do not discover where Queen Varaga hid it. The secret remains active because its recovery could expose the Queen’s criminal past and implicate powerful witnesses.
Stylptitch’s Memorandum
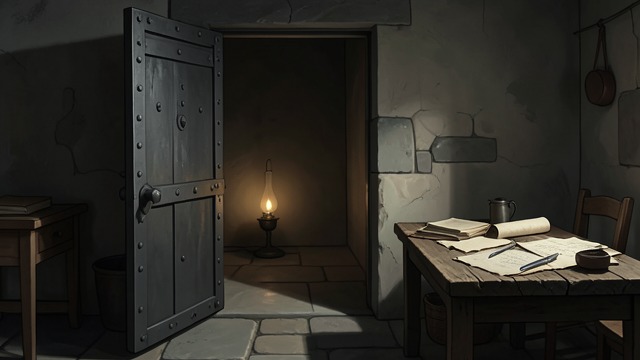
A Clue Preserved
Queen Varaga’s coded correspondence mentions that Count Stylptitch has removed the stone from its original hiding place. A memorandum reads “Richmond Seven Straight Eight Left Three Right,” leaving later searchers to interpret the directions.
Knowledge Without a Map
The clue survives while the people who understood the original concealment disappear or remain silent. Its cryptic form allows the jewel to remain hidden while inviting repeated misinterpretation.
The Council Chamber Search
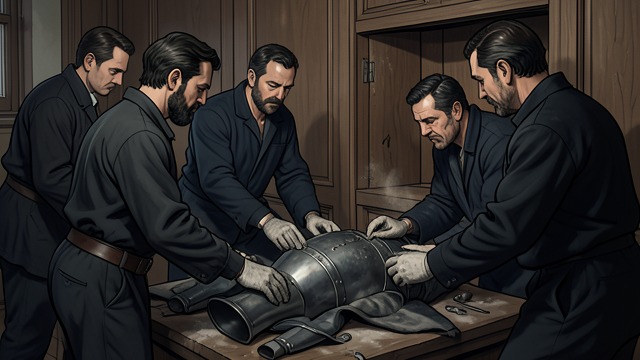
Armour and Panelling
Unknown searchers dismantle suits of armour and tap the council-chamber panelling, hoping to find the jewel or a concealed passage. Virginia Revel and Bill Eversleigh interrupt one search, while Anthony Cade and Battle capture the visitor during another.
A False Center
The repeated searches establish that the council chamber is important, but no one finds the stone there. The intruders’ failures indicate that the clue’s reference to Richmond has not yet been correctly understood.
A Joke in the Passage
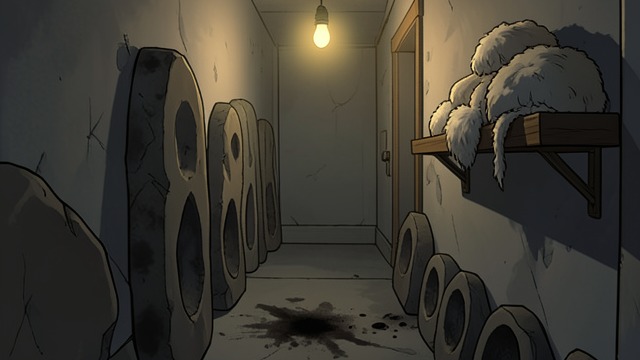
The Wrong Compartment
The investigators follow the numbers into a blocked secret passage and discover buttons, knitting, and a row of letters instead of a jewel. Anthony Cade interprets the objects as a humorous puzzle left by Count Stylptitch.
A Clue Reconsidered
The failed search makes the investigators question both the meaning of the code and the assumption that the hiding place is indoors. A recent match in the passage shows that the searchers are still close to the secret.
The Richmond Rose Bed
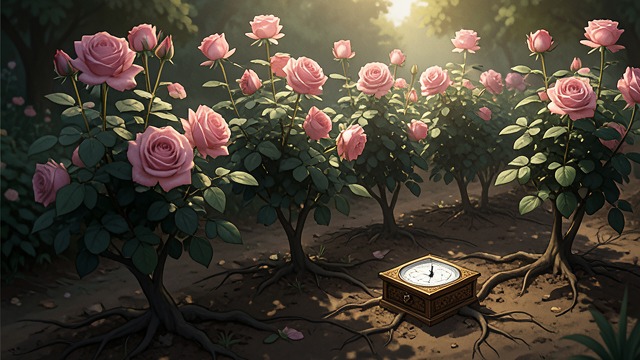
A Garden Coordinate
Anthony Cade recognizes that Count Stylptitch’s emblem stands for a rose and deciphers the measured route from the sundial to Richmond rose bushes. The investigators recover the historic diamond from its outdoor hiding place.
A Secret Restored
The garden search succeeds where rooms, armour, books, and passages fail. The jewel returns to official custody without requiring the old scandal to become public.
Seven years before the main story
Before the Queen’s escape
Two successive nights at Chimneys
Monday afternoon
The night of October 13 and the following morning
